大致框架为:haproxy(反代理)+apche(ssl和服务)+hexo(主站)
hexo搭建站点
hexo就不提了,官网上都有教程的,基本上照着敲就能部署完成
1
| https://blog.csdn.net/weixin_45019350/article/details/121901433
|
唯一需要注意的一点是当你测试完成后记得敲hexo generate,不要一直hexo -s ,这样非常占用资源也会使得网站响应速度变慢,hexo generate命令的作用就是将你测试完的hexo主题导出为静态文件方便你去部署在其他中间件平台,敲完后会在你部署hexo服务的根目录下创建一个public文件夹
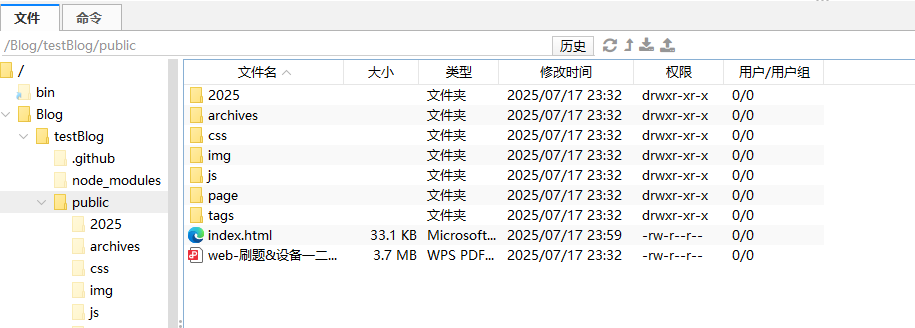
然后你再修改一下中间件的配置文件将你的网站根目录设置为当前文件夹就行了就可访问网站了,
如果
cp -f -r /Blog/testBlog/public/* /var/www/html/blog/时会弹出一堆覆盖确认,不用管,直接
1
| \cp -f -r /Blog/testBlog/public/* /var/www/html/blog/
|
因为某些系统(如 Linux 发行版)可能默认将 <font style="color:rgb(6, 7, 31);background-color:rgba(27, 31, 35, 0.05);">cp</font> 别名化为 <font style="color:rgb(6, 7, 31);background-color:rgba(27, 31, 35, 0.05);">cp -i</font>(交互式覆盖),此时即使加 <font style="color:rgb(6, 7, 31);background-color:rgba(27, 31, 35, 0.05);">-f</font> 也可能无效。解决方法:
着重说一下关于haproxy和apche的ssl安装
haproxy反代理
首先什么是haproxy,不多赘述直接看这个玩意
然后最重要的一点就这玩意特别好用,只用修改主配置文件就可以达到服务创建与运行,为什么要用这个玩意因为当我访问我的网站时,我是一个正向代理即我主动访问网站,我想着我apache的端口是80应该能正好给我HTTP访问解析到80端口,结果不行,必须加上端口号,这样不安全也不严谨,干脆做个反代理,
1
| /etc/haproxy/haproxy.cfg
|
1
2
3
4
5
6
7
8
9
10
11
12
13
14
15
16
17
18
19
20
21
22
23
24
25
26
27
28
29
30
31
32
33
34
35
36
37
38
39
40
41
42
43
44
45
46
47
48
49
50
51
52
53
54
55
56
57
58
59
60
61
62
63
64
65
66
67
68
69
70
71
72
73
74
75
76
77
78
79
80
81
82
83
84
85
86
87
88
89
90
91
|
global
log 127.0.0.1 local2
chroot /var/lib/haproxy
pidfile /var/run/haproxy.pid
maxconn 4000
user haproxy
group haproxy
daemon
ssl-default-bind-ciphers PROFILE=SYSTEM
ssl-default-server-ciphers PROFILE=SYSTEM
ssl-default-bind-options no-sslv3 no-tlsv10 no-tlsv11
ssl-default-server-options no-sslv3 no-tlsv11
stats socket /var/lib/haproxy/stats
defaults
mode http
log global
option httplog
option dontlognull
option http-server-close
option forwardfor except 127.0.0.0/8
option redispatch
retries 3
timeout http-request 10s
timeout queue 1m
timeout connect 10s
timeout client 1m
timeout server 1m
timeout http-keep-alive 10s
timeout check 10s
maxconn 3000
frontend http_in
bind *:80
mode http
http-request redirect scheme https code 301 unless { ssl_fc }
frontend https_main
bind *:443 ssl crt /ssl/scs1744809339073_www.kaedeh0.top_Apache/haproxy.pem
mode http
http2
http-response set-header Strict-Transport-Security "max-age=31536000; includeSubDomains; preload"
acl url_static path_beg -i /static /images /javascript /stylesheets
acl url_static path_end -i .jpg .gif .png .css .js
use_backend static if url_static
default_backend app
backend static
balance roundrobin
server static 127.0.0.1:4331 check
backend app
balance roundrobin
server app1 127.0.0.1:5001 check
server app2 127.0.0.1:5002 check
server app3 127.0.0.1:5003 check
server app4 127.0.0.1:5004 check
backend http_backend
mode http
balance roundrobin
server local_8080 127.0.0.1:8080 check #我这里将服务端口调为8080,当有人访问到主机时就自动跳转到网站的8080端口
|
接下来讲讲ssl
ssl证书
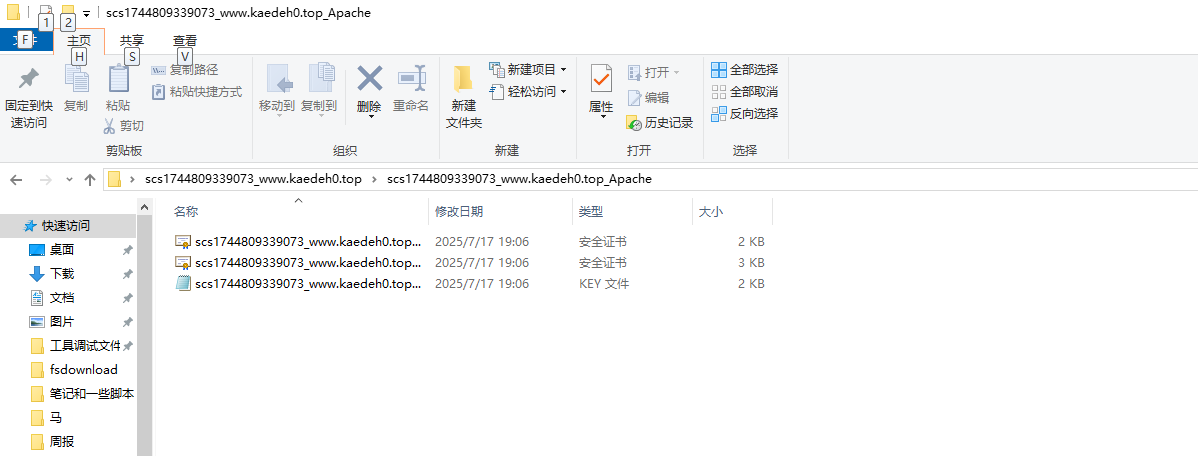
你从ips那申请到了ssl证书,以apache的为例子,一般就三个文件,看文件名
**<font style="color:rgb(6, 7, 31);background-color:rgba(27, 31, 35, 0.05);">server.crt</font>**:您的域名证书(由证书颁发机构签发,包含您的域名信息)。**<font style="color:rgb(6, 7, 31);background-color:rgba(27, 31, 35, 0.05);">ca.crt</font>**:中间证书(由证书颁发机构提供,用于链式验证)。**<font style="color:rgb(6, 7, 31);background-color:rgba(27, 31, 35, 0.05);">server.key</font>**:私钥文件(与证书匹配的私钥,必须保密)。
还有就是当你拿到这种散装的ssl证书可以考虑做个pem,散装的crt证书文件配置起来稍微麻烦些,而且现在很多的工具仅支持pem而并非crt
pem的制作顺序
1
2
3
4
5
|
cat server.crt ca.crt > fullchain.crt
cat fullchain.crt server.key > haproxy.pem
|
切记,ssl证书文件的文件权限和文件夹权限一点要高,不然配置时会会报错
然后就是apache的ssl配置了
apache配置ssl
首先要下载ssl模块
下载完后会在你的/etc/httpd/conf.d/下生成一个ssl.conf,然后就可以修改配置文件了
1
2
3
4
5
6
7
8
9
10
11
12
13
14
15
16
17
18
19
20
21
22
23
24
25
26
27
28
29
30
31
32
33
34
| Listen 443
SSLPassPhraseDialog exec:/usr/libexec/httpd-ssl-pass-dialog
SSLSessionCache shmcb:/run/httpd/sslcache(512000)
SSLSessionCacheTimeout 300
SSLRandomSeed startup file:/dev/urandom 256
SSLRandomSeed connect builtin
<VirtualHost _default_:443>
ServerName utouch-vn-qms-api.ces.myfiinet.com
ErrorLog /var/log/httpd/ssl_error_log
TransferLog /var/log/httpd/ssl_access_log
LogLevel warn
SSLEngine on
SSLProtocol all -SSLv2 -SSLv3 -TLSv1 -TLSv1.1
SSLCipherSuite HIGH:!aNULL:!MD5:!SEED:!IDEA
SSLCertificateFile /ssl/scs1744809339073_www.kaedeh0.top_Apache/haproxy.pem #重点是这里,pem和私钥的位置
SSLCertificateKeyFile /ssl/scs1744809339073_www.kaedeh0.top_Apache/scs1744809339073_www.kaedeh0.top_server.key
<Directory "/var/www/my-project">
Options Indexes FollowSymLinks
AllowOverride All
Require all granted
</Directory>
</VirtualHost>
<VirtualHost *:8080> #这里是又做了一个反代理,当访问8080端口强行将流量转到443端口,并返回网站首页
ServerName www.kaedeh0.top
RewriteEngine On
RewriteCond %{SERVER_PORT} !^443$
RewriteRule ^(.*)$ https://%{HTTP_HOST}%{REQUEST_URI} [L,R=301]
</VirtualHost>
|